Melted chocolate – the very phrase conjures images of glossy ganaches, decadent drizzles, and silky smooth sauces Do you know how to melt chocolate like a pro? It's a foundational skill in the world of baking and confectionery, yet for many, it remains a source of frustration. The dreaded burnt bits, seized lumps, or grainy textures can quickly turn a hopeful endeavour into a sticky mess. The good news? Melting chocolate like a professional isn't a dark art; it's a science, and with a few key techniques and a little patience, you can achieve perfectly smooth, luscious melted chocolate every time. Does the thought of tempering vs melting get you a little hot and bothered? It doesn’t have to give you nightmares if you know a few chocolate melting hacks.
The cardinal rule of melting chocolate is low and slow heat. Chocolate is delicate, and its cocoa solids and milk proteins are highly susceptible to scorching. High heat will cause the sugar to crystallize and the fats to separate, leading to that unappetizing grainy texture or a burnt, acrid taste. Tempering is all about the finish. If you desire that shiny , crisply snapping chocolate product, that's when to plump for tempering versus melting. Below we give you an insight as to how to melt chocolate properly with key steps.

Let's explore the most effective methods for how to melt chocolate properly.
Method 1: The Double Boiler (Bain-Marie) – The Classic Pro's Choice
This is widely considered the safest and most reliable method, offering gentle, indirect heat. This is the trusted ‘how to melt chocolate properly’ method.
What you'll need:
-
A heatproof bowl (glass or stainless steel is ideal) that fits snugly over a saucepan without touching the water.
-
A saucepan.
-
Water.
-
A rubber spatula or whisk.
-
Your chocolate, finely chopped.
Steps:
-
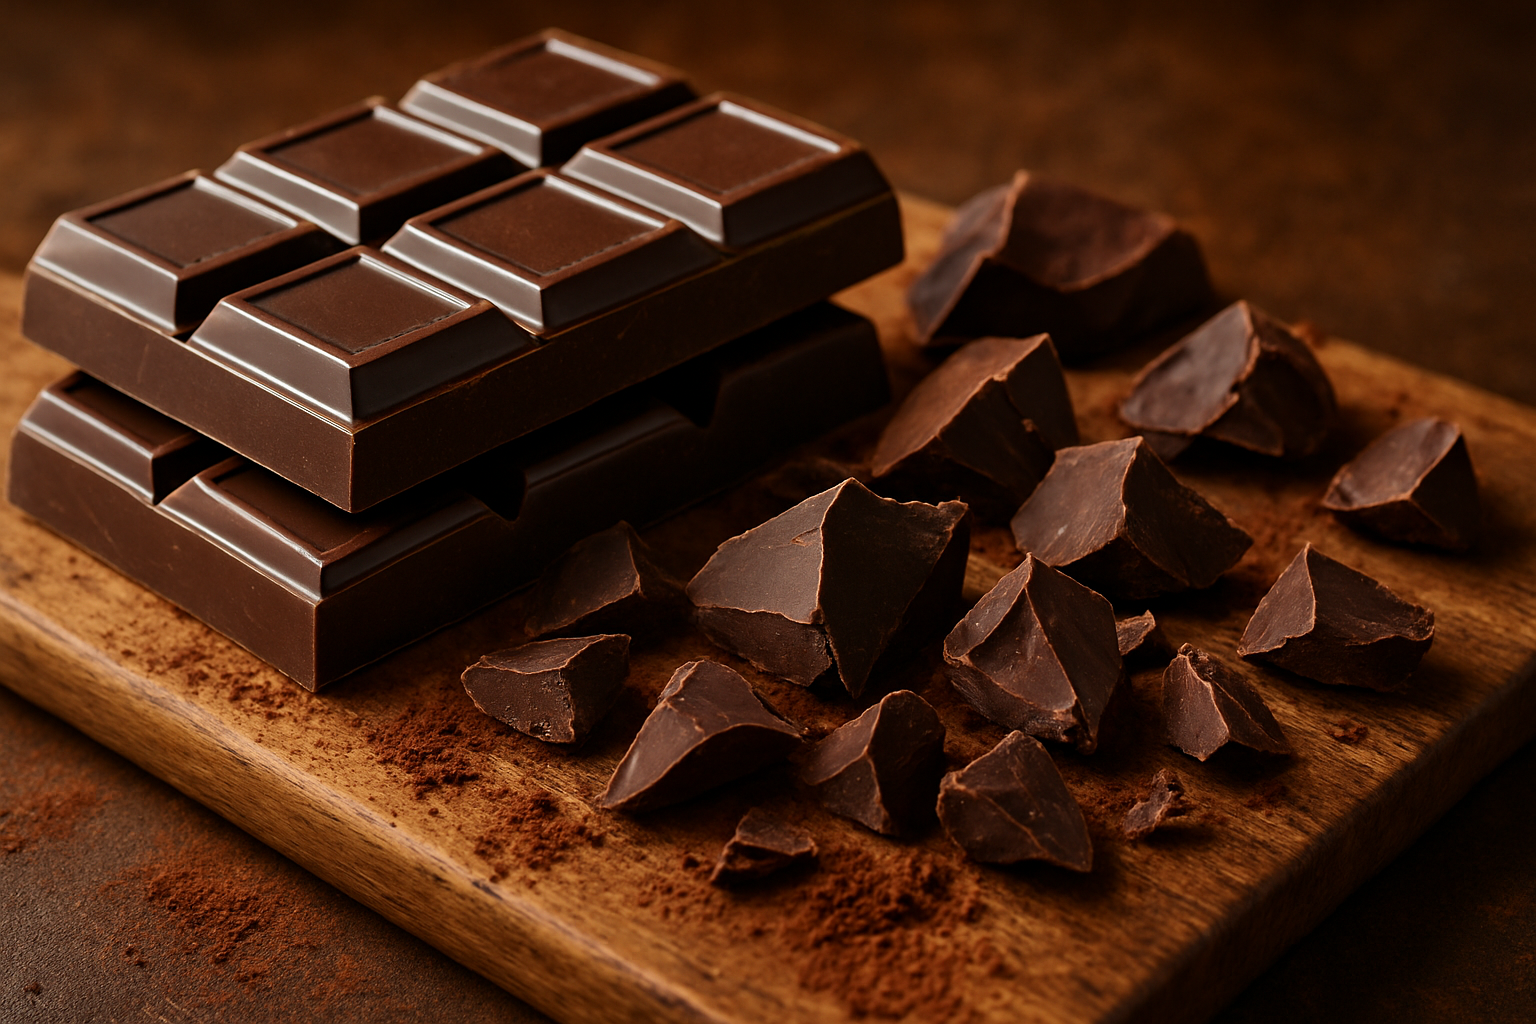
Chop Your Chocolate: This is a crucial first step for any melting method. Large chunks melt unevenly, leading to some parts burning while others remain solid. Use a serrated knife to finely chop your chocolate bar into small, uniform pieces (about ¼ to ½ inch). The smaller the pieces, the faster and more evenly it will melt.
-
Prepare the Double Boiler: Fill your saucepan with about 1-2 inches of water. Crucially, ensure the water level is low enough so that when you place your bowl on top, the bottom of the bowl does not touch the water. This creates a steam bath, providing indirect heat.
-
Heat the Water: Bring the water to a gentle simmer over medium-low heat. You want steam, not a rolling boil. A strong boil can cause water droplets to splash into your chocolate, leading to seizing.
-
Place the Chocolate: Once the water is simmering, reduce the heat to low and place your bowl of chopped chocolate over the saucepan.
-
Melt Gently: Allow the chocolate to sit for a minute or two without stirring. You'll see the edges begin to soften and glisten. Then, gently stir with a rubber spatula or whisk. Continue stirring occasionally until the chocolate is about two-thirds melted.
-
Remove from Heat: Once most of the chocolate is melted but a few small pieces remain, remove the bowl from the saucepan. The residual heat in the bowl and the already melted chocolate will continue to melt the remaining pieces. Stir continuously until completely smooth and glossy. This final step prevents overheating.
-
Watch for Water: Even a single drop of water introduced to melting chocolate can cause it to "seize" – turning into a grainy, clumpy mess. Ensure your bowl and spatula are completely dry, and be mindful of steam condensation.
Method 2: The Microwave – The Speedy but Risky Option (Handle with Care!)
While faster, melting chocolate in the microwave requires vigilance and a gentle touch. Overheating in the microwave is the primary cause of burnt, seized chocolate.
What you'll need:
-
A microwave-safe bowl (glass or ceramic).
-
Your chocolate, finely chopped.
-
A rubber spatula.
Steps:
-
Chop Your Chocolate: Again, finely chopped chocolate is non-negotiable for microwave melting.
-
Microwave in Short Bursts: Place the chopped chocolate in your microwave-safe bowl. Microwave on 50% power (or defrost setting) for 30-second intervals.
-
Stir Between Bursts: After each 30-second interval, remove the bowl and stir the chocolate thoroughly, even if it doesn't look like much has melted. This distributes the heat evenly.
-
Continue Until Almost Melted: Repeat the 30-second bursts and stirring until the chocolate is mostly melted, with just a few small lumps remaining.
-
Stir to Finish: Remove from the microwave and continue stirring until the residual heat melts any remaining pieces into a smooth, glossy consistency. Do not put it back in the microwave if only a few small lumps remain.
Tips for Pro-Level Melting:
-
Quality Matters: High-quality chocolate (couverture chocolate with a higher cocoa butter content) melts more smoothly and has a better flavour. Chips, designed to hold their shape, may not melt as fluidly.
-
Keep it Dry: Water is the enemy of melting chocolate. Ensure all your equipment is bone dry. Even a tiny drop can cause seizing. If your chocolate does seize, you might be able to rescue it by stirring in a teaspoon of vegetable oil or melted butter, but this will change its consistency and shine.
-
Don't Overheat: This is the most common mistake. Chocolate burns easily. Once it’s melted, remove it from the heat source. The residual heat will finish the job.
-
Stirring is Key: Consistent stirring helps distribute heat evenly and ensures a smooth consistency.
-
Patience is a Virtue: Resist the urge to rush the process. Low and slow is the mantra for perfect melted chocolate. If you master these things, then you will certainly know how to melt chocolate properly.
Friars
Smooth and creamy Belgian milk chocolate buttons, a true delight for the taste buds. Presented in a clear cellophane bag and finished with a satin ribbon tie. These are a head start when you put into practice your chocolate melting hacks.
We also have plenty of other wonderful dots to assist in your chocolate melting , with a variety of flavours. So when practising your chocolate melting hacks, don’t forget to use our quality chocolates.

Tempering Versus Melting
As a general rule, if your chocolate is intended as part of the ingredients and being mixed in with your recipe, melting is fine. Tempering versus melting comes to the fore when you are using the chocolate in moulded confections or as decorations and such. This is when you want to have that shiny finish and snap and crispness to your chocolate. This is probably the best time to utilise your knowledge of chocolate melting hacks. Tempering can be tricky, requiring heat, stirring and timing to ensure good results. In essence, tempering versus melting is governed by how you want your chocolate to look. Tempering is done to stabilise the crystals within the chocolate where as melting makes unstable crystals. This is evident in the finish particularly.
Mastering the art of melting chocolate opens up a world of culinary possibilities. With these techniques in your arsenal, you'll be able to create dazzling desserts with perfectly smooth, rich, and never-burnt melted chocolate, truly baking like a pro.


